

AneeMate camera settings: compare distance and height in motion
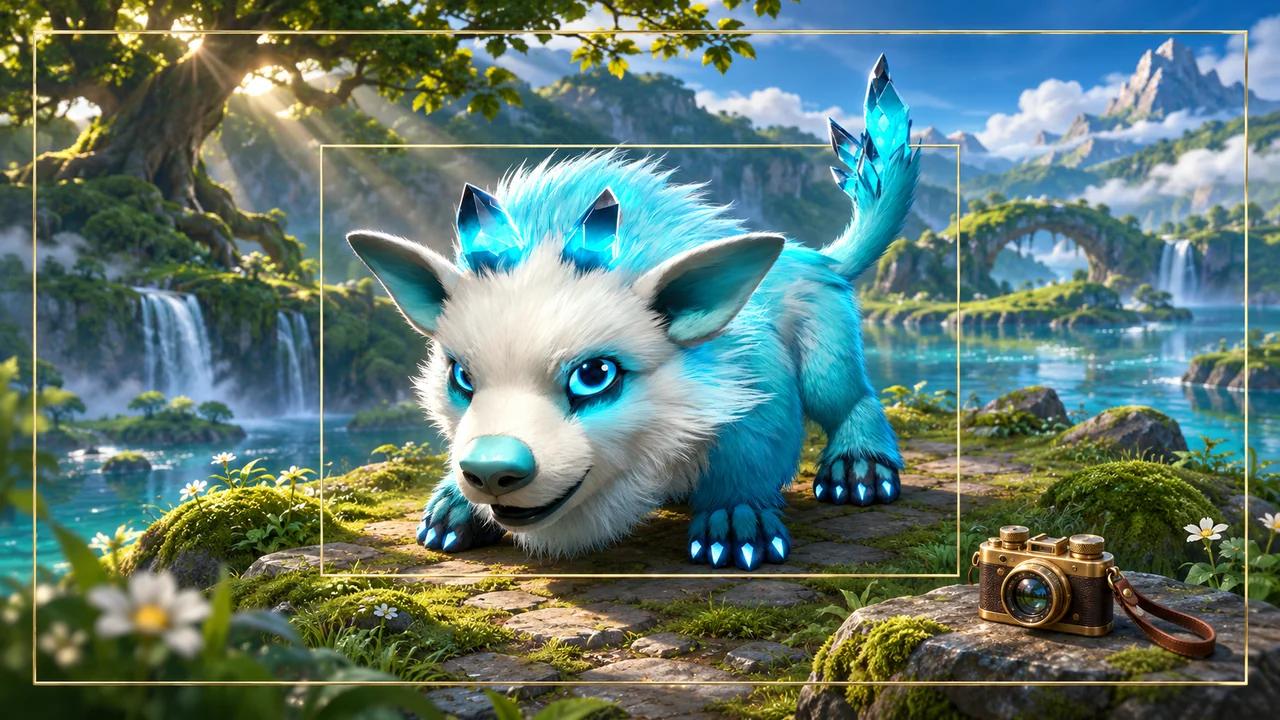
AneeMate's 0.1.5-ce update lets you adjust camera distance from 80% to 150% and change camera height while seeing the result in play. Choose a view around the action you want to read, then compare the same short route. A wider view is an option to evaluate, rather than an automatic upgrade for every player.
Pick a task before moving the slider
It is easy to change the camera while standing in a pleasant clearing and then judge everything from that one image. Start with something you actually want to do: follow a path, watch a nearby enemy or inspect the space around a building. The camera's job is to help you understand that task while you move.
The dated weekly development report is the source for the adjustment range. This guide adds an original comparison routine. It does not report a gameplay test, prescribe a medically preferred view or promise that one setting removes discomfort. Your useful choice may differ from a friend's even on the same monitor.
Save a baseline you can return to
Before changing anything, note the current distance and height. Keep the display mode, resolution and graphics settings unchanged during this first comparison. If you also alter several performance options, it becomes difficult to tell whether the camera view or another change affected what you noticed.
Choose a short route with an obvious start and end. You do not need a perfect testing arena. A familiar stretch where you can move, turn and stop is enough to begin. Avoid making the comparison depend on catching a rare creature or recreating an unpredictable encounter. Keep the first task ordinary and repeatable.
For graphics changes, our FPS cap guide uses the same principle of a consistent route. Camera preference is a separate question from frame rate. A comfortable composition does not establish that the game is running faster, and a higher frame-rate reading does not tell you whether the view explains the action.
An original exercise: near, far and back again
Imagine a player walking along a path, turning beside a tree and stopping near a building. This is a proposed exercise, not a named quest or a new game mechanic. Run that route at the original setting. Notice whether you can keep track of the character and the next part of the path without repeatedly correcting the view.
Now move the distance a little, while leaving height alone, and repeat. Ask what became easier and what became harder. Did more surrounding space become visible? Did an important nearby detail become too small to read comfortably? Record the tradeoff in ordinary words. “I can see the path, but struggle to read the nearby object” is more useful than “farther is better.”
Return to the starting distance before testing height. This gives you a cleaner comparison than making a second adjustment on top of the first without a record. You can combine preferred changes afterwards, then repeat the route once more to see whether the combination still serves the task.
Look at movement, not only the stopping point
Include the turn and approach in your decision. A still image can look well framed while the moving sequence requires constant attention to stay oriented. Conversely, a view that looks less dramatic in a screenshot may make the next step easier to follow. A short recording can help you compare the moment that mattered.
Do not let a scenic screenshot become the only evidence. The player spends time moving between views, selecting actions and returning from menus. If a problem concerns an input rather than framing, consult the controls guide instead of continuing to move the camera in the hope that it changes the action itself.
Keep co-op observations specific
When comparing a view during co-op, record that you were in co-op and whether you were hosting or joining. Do not assume that a friend's screenshot represents your exact settings or situation. Each person can explain which part of the action was difficult to see, without insisting that the whole team adopt one preference.
If you report an unexpected camera result, include the installed build, distance, height, location and steps. Say whether it happened immediately or only after another action. The testing feedback guide explains the wider reporting process. Avoid posting account details when a scene and settings are sufficient.
Frequently asked questions
Is maximum distance the best setting?
Not necessarily. Compare the extra surroundings with the size and readability of the things you need to see. The setting's maximum is an available choice, not a universal recommendation.
Should I change distance and height together?
For an initial comparison, change one at a time and retain the baseline. Once you understand each effect, combine your preferred adjustments and revisit the same route. There is no need to keep changing settings during every encounter.
Does this guide confirm a performance improvement?
No. It concerns framing and a repeatable way to choose a view. Performance claims require measurements of the relevant build and machine. We have not run that benchmark for this article.
Explore the current AneeMate build on Epic, choose a familiar route and give yourself time to compare. If a specific view stops making sense, the short sequence that leads to it is valuable feedback.
Source: AneeMate weekly report, 6 November 2026, checked 8 November 2026. Camera range follows the studio-confirmed released notes for 0.1.5-ce. The route and review routine are original editorial proposals.