


Where to find wood after chopping a large tree in AneeMate
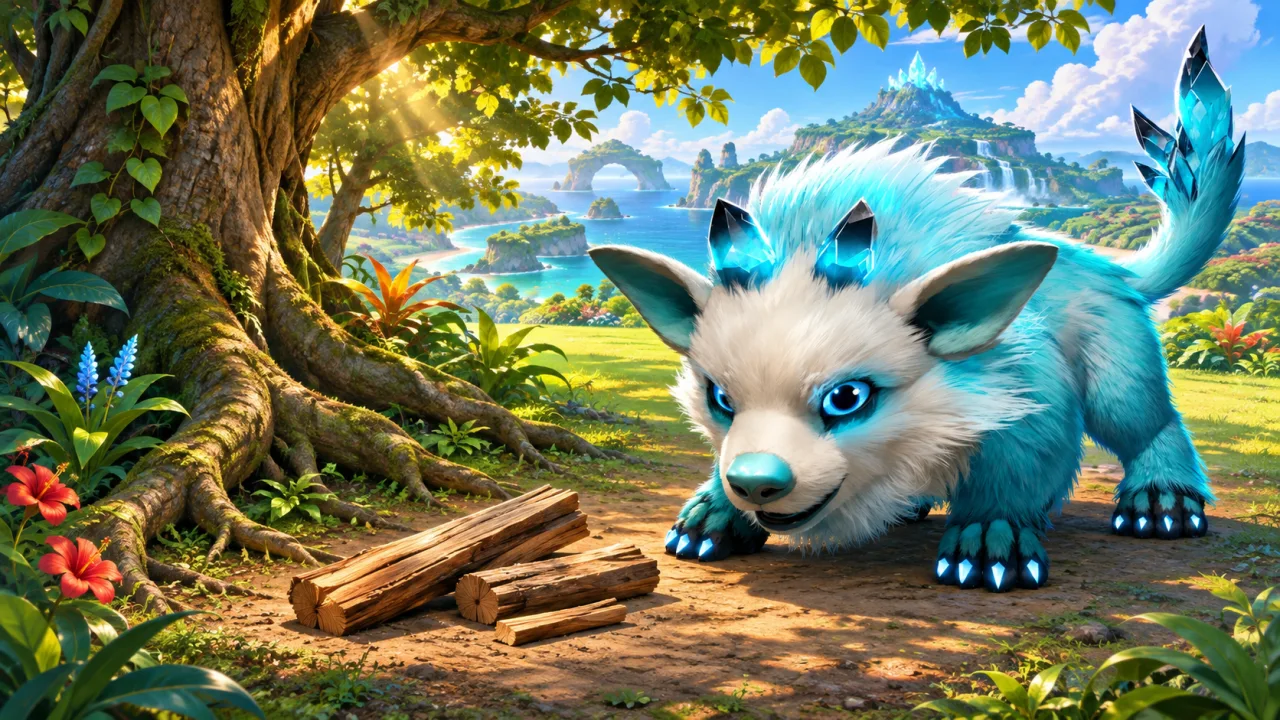
After chopping a large forest tree in AneeMate 0.1.5-ce, look for the wood beside the trunk. The November 6 development report says the update moved those drops out of the terrain and next to the tree. Start at ground level around the trunk before moving on to the next tree.
Look where the trunk meets the ground
On an uneven slope, you may see the upper part of the tree clearly while the base is partly hidden. After the tree is chopped, shift the camera toward the lowest visible ground nearby. Walk around the base if the roots, grass or the slope block your first view. This is a search pattern for the area the update describes. Exact positions can look different from one tree to another.
Imagine a large tree on the uphill side of a path. From the path it is easy to see one face of the trunk. The other side is obscured by the slope. Try a short arc past the base to get a view along the ground. That takes less time than starting a wide search around the clearing.
The building and farming guide explains where gathering fits in the home routine. If you are preparing for a build, the useful detail here is where to finish collecting at each large tree.
Tell a visible drop from a successful collection
Once you see the wood, check what happens as you approach. With manual pickup, look for the normal interaction. With Auto Pickup on, confirm the result in your inventory if it is unclear whether the wood was collected as you moved through the area. The Auto Pickup guide explains how to compare those settings.
A model check is to note your current wood amount, chop one large tree, collect the visible stack and check the total again. Use the same tree encounter to observe the position. If you combine several trees and pickups in one pass, it becomes harder to tell which one supplied the material you saw in the bag.
The update describes the ground position for wood from large forest trees. Different vegetation and resource nodes may have their own behavior. Keep any comparison focused on the kind of tree you actually chopped.
Plan a small loop when gathering for a recipe
Choose a few trees on a route you can retrace. Collect the drops at each stop before leaving it. At the end, check your actual inventory against the recipe you plan to make. The crafting material guide explains how to read the quantities shown on recipe cards.
If the area is busy, go tree by tree until you know where the wood tends to appear from your camera angle. That makes it easier to distinguish an item behind a root from a drop that may still need investigation. When you are comfortable, you can scan each new trunk more quickly.
What if the wood still appears unreachable?
Check the installed build and capture the spot from a side where the ground is visible. Include what was chopped, where the drop appeared relative to the trunk, and whether you could pick it up. A clip that starts just before the last hit and ends at the dropped material communicates more than a screenshot with no tree context.
If your inventory count changed before you saw a drop, include that too. It helps distinguish a visibility issue from a collection issue. If you are unsure which pickup setting was active, check it before attempting another comparison.
If you return for another pass, confirm you are comparing a similar tree, with a similar view of its base. A nearby branch or stump can make a screenshot hard to interpret later. Keeping one reference point visible helps you compare the drop with the tree's original position.
What should I try first on my next outing?
Chop one large forest tree in a familiar place. Look at the ground beside the trunk, collect what you see, and check the inventory before heading to another. Once that sequence is familiar, it is easier to keep a steady gathering route. The AneeMate gameplay guide covers the larger loop of exploration, gathering and returning home.